As an admin of an active project, you can create an event and invite team members.
Create the event
- In Calendar, open the create menu and select Event.
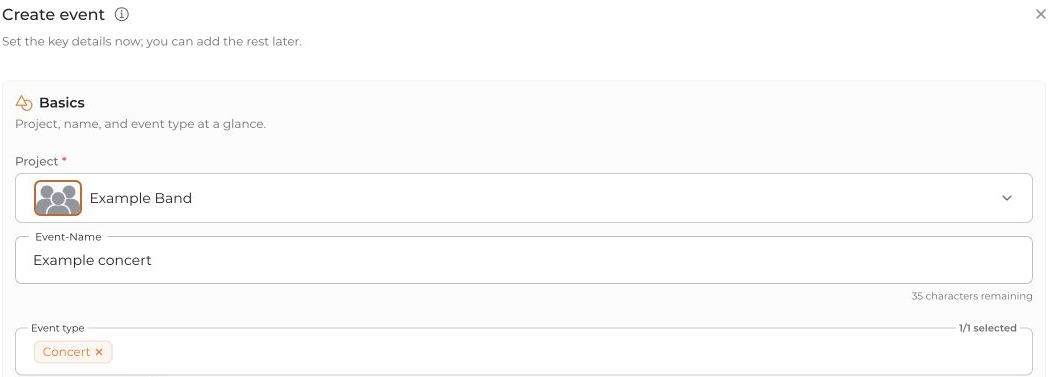
- Select the project, event type and name.
- For a known date, select Date is fixed and enter the date and time. Choose the appropriate booking/planning status and add the location if needed.
- Click Next to open Team.
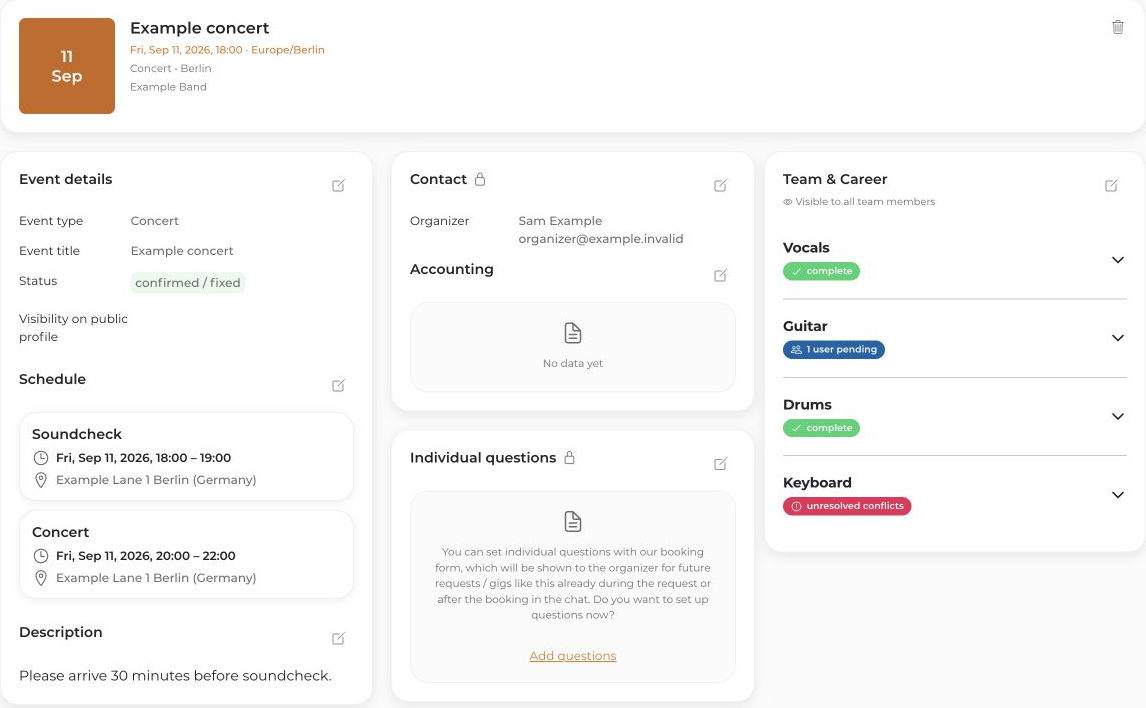
If the date is not fixed yet, choose Coordinate date instead. Date coordination uses a separate flow with team selection and date options.
Set up invitations
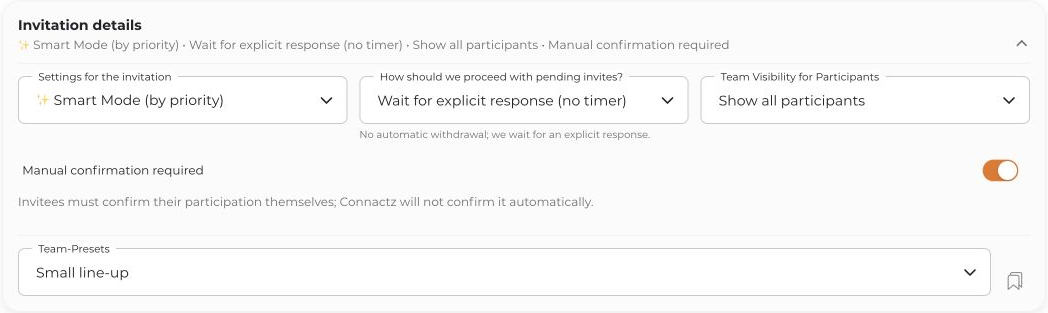
Open Invitation details and choose a mode. In Smart Mode, you can either wait for a reply or set a timer for unanswered invitations.
Manual confirmation required means Auto-Accept is not used for this invitation. The invitee should respond themselves. You do not then need to approve their acceptance again.
Select the team
- Open the relevant position and select candidates.
- Set the number under We need. In no-limit mode, this limit does not apply.
- In Smart Mode, drag selected people into the desired priority order.
One click selects a person; another marks them as mandatory. Another click deselects them. Check the displayed selection state.
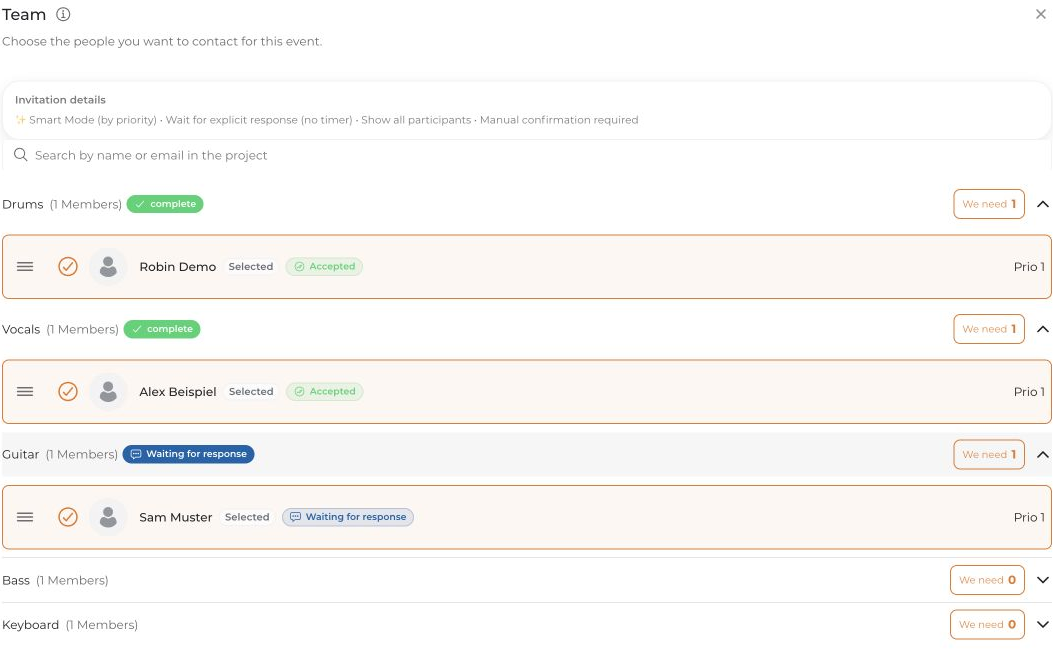
Mandatory does not mean accepted. This selection does not replace confirmation of participation.
Review Schedule and Details if needed. Click Create event to create the event and start invitations according to your settings.


